10 Kitchen Makeover Ideas on a Budget for a Big Change
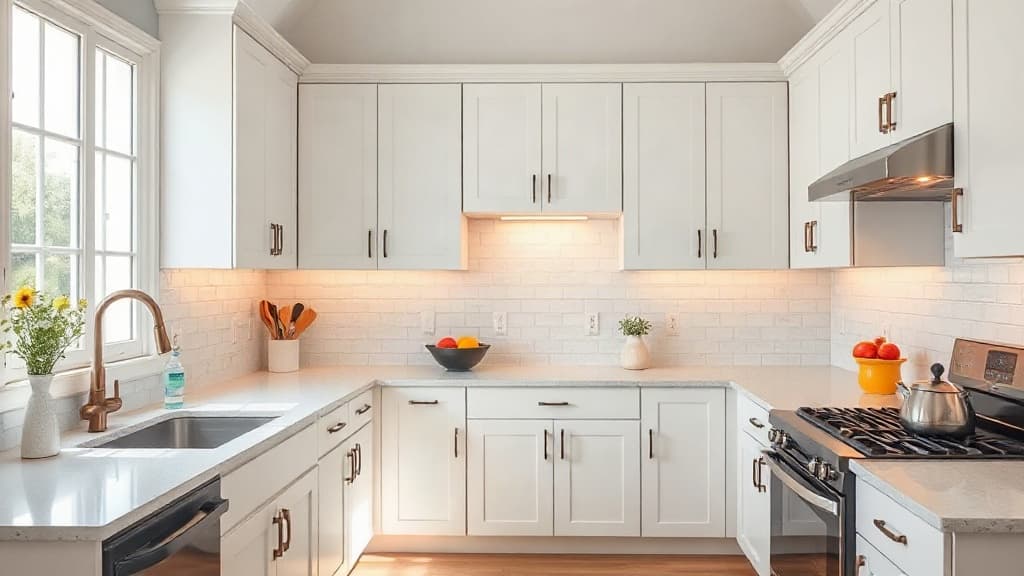
A kitchen makeover on a budget focuses on high-impact, low-cost changes. You can refresh the entire space by updating surfaces, hardware, and lighting. The goal is to spend money on changes you see every day, avoiding expensive structural work or new cabinetry where possible.
1. Repaint Your Cabinets
Repainting cabinet doors and frames is the most effective budget update. Use a dedicated cabinet paint or a high-adhesion primer followed by a durable enamel. For a clean look, remove all doors and hardware, clean surfaces thoroughly with a degreaser, and apply thin coats with a foam roller. A rule of thumb is to allow 24 hours of drying time between coats.
Common mistakes include skipping the primer or sanding step, which leads to peeling paint. Choose a light color like a soft white or pale grey to make a small kitchen feel larger. Darker colors can work on lower cabinets only, creating a two-tone effect. Always test your color on a spare door or an inconspicuous area first.
2. Replace All Cabinet Hardware
New knobs and pulls instantly modernize dated cabinets. This is a simple DIY project requiring only a screwdriver. Choose a consistent finish throughout, such as matte black, brushed nickel, or brass. Measure the existing hole centers (typically 96mm or 128mm) to find new hardware that fits without drilling new holes.
If you must drill new holes, use a template to ensure perfect alignment. For a cohesive look, match the finish of your new hardware to your faucet and light fixtures. Consider longer, bar-style pulls for drawers and standard knobs for doors. This small change has a surprisingly large effect on the kitchen's overall style.
3. Update the Backsplash with Peel-and-Stick Tiles
A new backsplash adds texture and protects your walls. Peel-and-stick vinyl or PVC tiles are affordable and easy to install without grout or mortar. They come in designs that mimic subway tile, marble, or patterned cement. Clean the wall surface completely and ensure it is smooth and dry before application.
Start tiling from the center of the wall or from a visible corner for a neat finish. Use a utility knife to trim tiles to fit around outlets and edges. These tiles are not suitable for areas behind a gas stove due to heat. For a more permanent but still budget option, consider painting the backsplash area with a wipeable, semi-gloss paint in a bold color.
4. Install Under-Cabinet Lighting
Task lighting under cabinets eliminates shadows on countertops and makes the space feel brighter. LED strip lights or puck lights are low-cost and energy-efficient. Choose a color temperature that matches your main lighting; 3000K-4000K (warm white to neutral white) works well in kitchens. Many kits are plug-in or battery-operated, requiring no hardwiring.
Position the lights toward the back of the underside of the cabinet to spread light evenly across the counter. For a clean look, use aluminum channels to diffuse the light from LED strips. This lighting makes food prep safer and can also serve as ambient light in the evening. It is a practical upgrade that significantly improves functionality.
5. Add Open Shelving in Place of Some Cabinets
Removing the doors from one or two upper cabinets creates affordable open shelving. It makes the kitchen feel more open and allows you to display nice dishes. Paint the cabinet interior a contrasting color for visual interest. Ensure shelves are level and use sturdy brackets if removing the entire cabinet box.
Keep open shelves organized with matching containers and only display items you use regularly to avoid a cluttered look. A typical shelf depth for upper cabinets is 30-35cm (12-14 inches). This idea works best for people who enjoy tidying and styling their kitchenware. It is a simple way to break up a wall of solid cabinets.
6. Refinish or Replace Countertops
If laminate countertops are in good shape but dated, you can paint them with a specialty countertop coating kit. These kits create a hard, wipeable surface that can mimic stone. The key is meticulous surface prep—cleaning, light sanding, and applying thin, even coats. Another option is to cover them with a sheet of hard-wearing vinyl.
For a more significant change, consider replacing just a small section, like the island top, with a remnant piece of quartz or butcher block. A standard island size of 120cm x 80cm (47in x 31in) is often manageable. Keep existing countertops if they are structurally sound and focus your budget on more visible changes like paint and hardware. You can find more Before & After Transformations ideas to see how others have tackled this.
7. Apply a Fresh Coat of Wall Paint
Painting the walls is a fast and inexpensive way to redefine the kitchen's mood. In a kitchen, use a satin or semi-gloss finish for easy cleaning. A light color recedes, making the room feel more spacious, while a bold accent wall behind open shelves can add depth. Always patch holes and sand glossy surfaces before painting.
Consider the color of your cabinets and flooring when choosing a wall color. A neutral greige or soft green can update the space without clashing. For a cohesive look, carry a color from another room into the kitchen. One gallon of paint is usually enough for an average kitchen, excluding cabinets. This project can be completed in a weekend.
8. Upgrade Faucet and Sink Accessories
A new faucet changes the sink area's functionality and style. Look for a pull-down sprayer model for easier cleaning. Standard faucet hole configurations are either single-hole, 4-inch centerset, or 8-inch widespread. Measure your existing setup to ensure compatibility. A matte black or brushed brass faucet can act as a focal point.
Pair the new faucet with a matching soap dispenser and a upgraded dish rack. If your sink is stained but intact, use a stainless steel cleaner or a porcelain refinishing kit to restore its shine. For a more dramatic change, a professional can often replace a drop-in sink without disturbing the countertop. This zone gets heavy use, so investing here improves daily experience.
9. Refresh Flooring with Vinyl Planks
If your floor is worn, modern vinyl plank flooring is a durable and affordable solution. Many options are click-lock and can be installed as a floating floor over most existing surfaces. Choose a water-resistant core for kitchens. Planks that mimic wood or tile add warmth and texture without the cost of real materials.
Ensure the subfloor is clean, dry, and level before installation. Acclimate the planks in the room for 48 hours before laying them. A typical plank size is 180cm x 23cm (71in x 9in). This project requires basic tools like a utility knife and a tapping block. New flooring unifies the room and makes all other updates look more intentional.
10. Declutter and Organize Systematically
A deep clean and reorganization costs nothing but time and makes the new updates shine. Remove everything from cabinets, purge unused items, and group like items together. Use shelf risers, drawer dividers, and clear bins to maximize space. Assign a specific home for every item to maintain order.
Keep countertops as clear as possible, storing small appliances in cabinets. Use the wall for storage with a rail system for utensils and spices. An organized kitchen feels larger and more functional than a cluttered one, regardless of its age or style. This final step ensures your budget makeover is both beautiful and practical.
Looking for more? Browse more Before & After Transformations ideas.
Key takeaways
Focus on changes you interact with daily, like cabinet fronts and lighting. Prep work like cleaning and sanding is essential for paint and adhesive updates to last. Match metal finishes across hardware, faucets, and light fixtures for a cohesive look. A deep clean and organization multiplies the impact of every other change.
Frequently Asked Questions
What is the cheapest way to update kitchen cabinets?
Repainting them is the most cost-effective method. Use a high-adhesion primer and a durable cabinet paint. Replacing the hardware with new knobs and pulls for a fresh look costs very little and completes the update.
Can I install a new backsplash myself on a budget?
Yes, peel-and-stick vinyl tiles are an affordable DIY option. They require no grout and can mimic materials like subway tile. Ensure your wall is clean, dry, and smooth before applying them for the best result.
How can I make my small kitchen look bigger on a budget?
Paint cabinets and walls in light, reflective colors. Install under-cabinet LED lighting to brighten countertops and eliminate shadows. Remove a few cabinet doors to create open shelving, which makes the wall feel less heavy.
Is it worth replacing a kitchen faucet during a budget makeover?
Yes, a new faucet improves daily function and is a visible style update. Choose a model with a pull-down sprayer for better utility. Matching its finish to your new cabinet hardware ties the look together.
Read Also

Where Inspiration Meets Reality: The Gallery of Transformation
Journey through real-world before-and-after projects that illustrate how architectural visions become breathtaking, tangible spaces, offering a wellspring of practical inspiration.
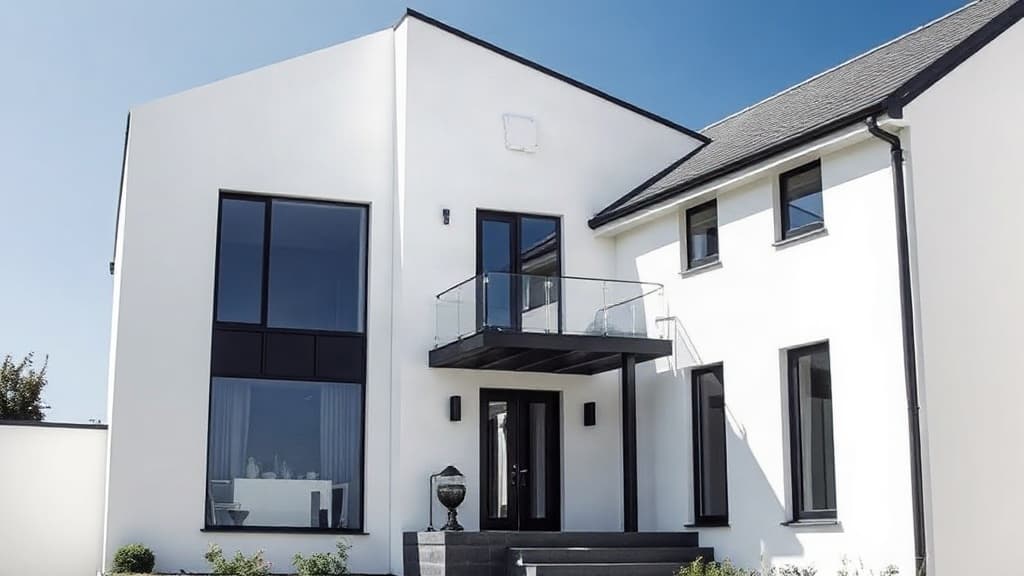
Before & After: Your Practical Roadmap to a Stunning Home Transformation
Unlock the secrets to a successful home makeover with our practical guide. Learn how to plan, prioritize, and partner your way to a beautiful 'after'.
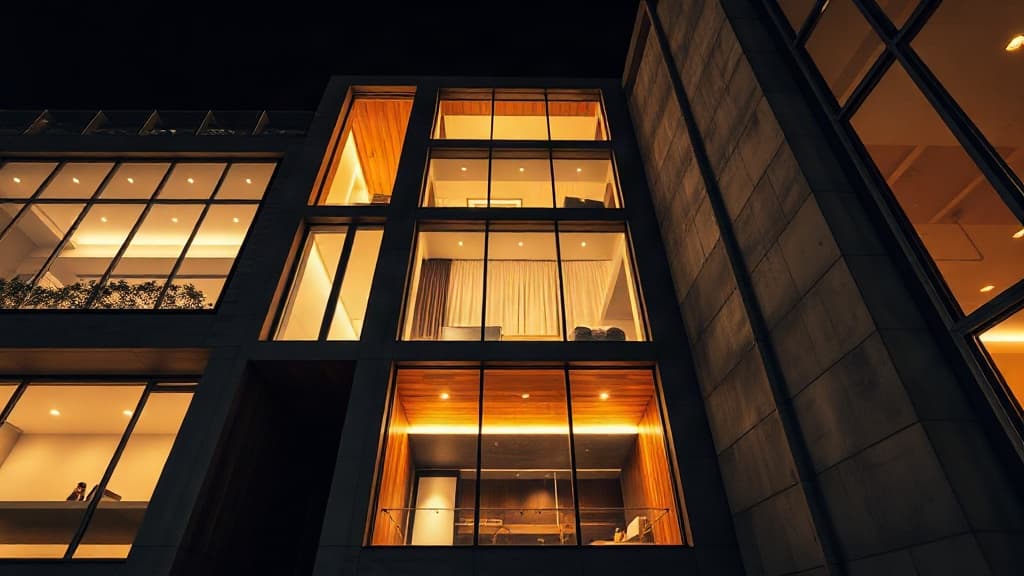
The Pivotal Moment: Where Materials, Light, and Detail Converge
True transformation is rarely about a single element. We explore three pivotal projects where the strategic selection of materials, the curation of light, and an obsession with detail turned spaces from dated to dynamic.